14 November 2026
What to Document on Every Construction Site Visit for Accurate Progress Tracking
Presented by @concreteandcontext
Consistent visual records are the backbone of any construction project that aims to stay on schedule and within budget. Without a clear, repeatable method for capturing progress, it is easy to miss critical changes between site visits or to end up with a pile of unorganized images that tell no coherent story. A structured documentation checklist ensures every site visit produces usable, comparable data that supports better decisions.
Before You Arrive: Confirm the Capture Date and Project Milestones
Every site visit should have a defined purpose tied to the construction schedule. Before heading out, check which building stage is currently underway and what specific milestones are approaching. This helps you focus your documentation on the areas that matter most at that moment. For example, if foundation work is finishing, you will want to capture full coverage of the slab before walls go up. If framing is nearly complete, priority shifts to roof and exterior envelope shots. Aligning your visit with the project milestone ensures the visual record directly supports progress reporting.
Note the capture date clearly for every set of images or data you collect. Even a single day of delay can change the context of a photo, especially during fast-moving phases like concrete curing or steel erection. Label everything with the date and the specific building stage so that later comparisons are straightforward.
Essential Documentation Points for Every Visit
A good checklist covers more than just taking a few wide-angle shots. It ensures you gather the details that project managers, architects, and owners actually need to verify progress and spot issues early. Below are the key areas to document on each site visit.
1. Overall Site Context from Multiple Angles
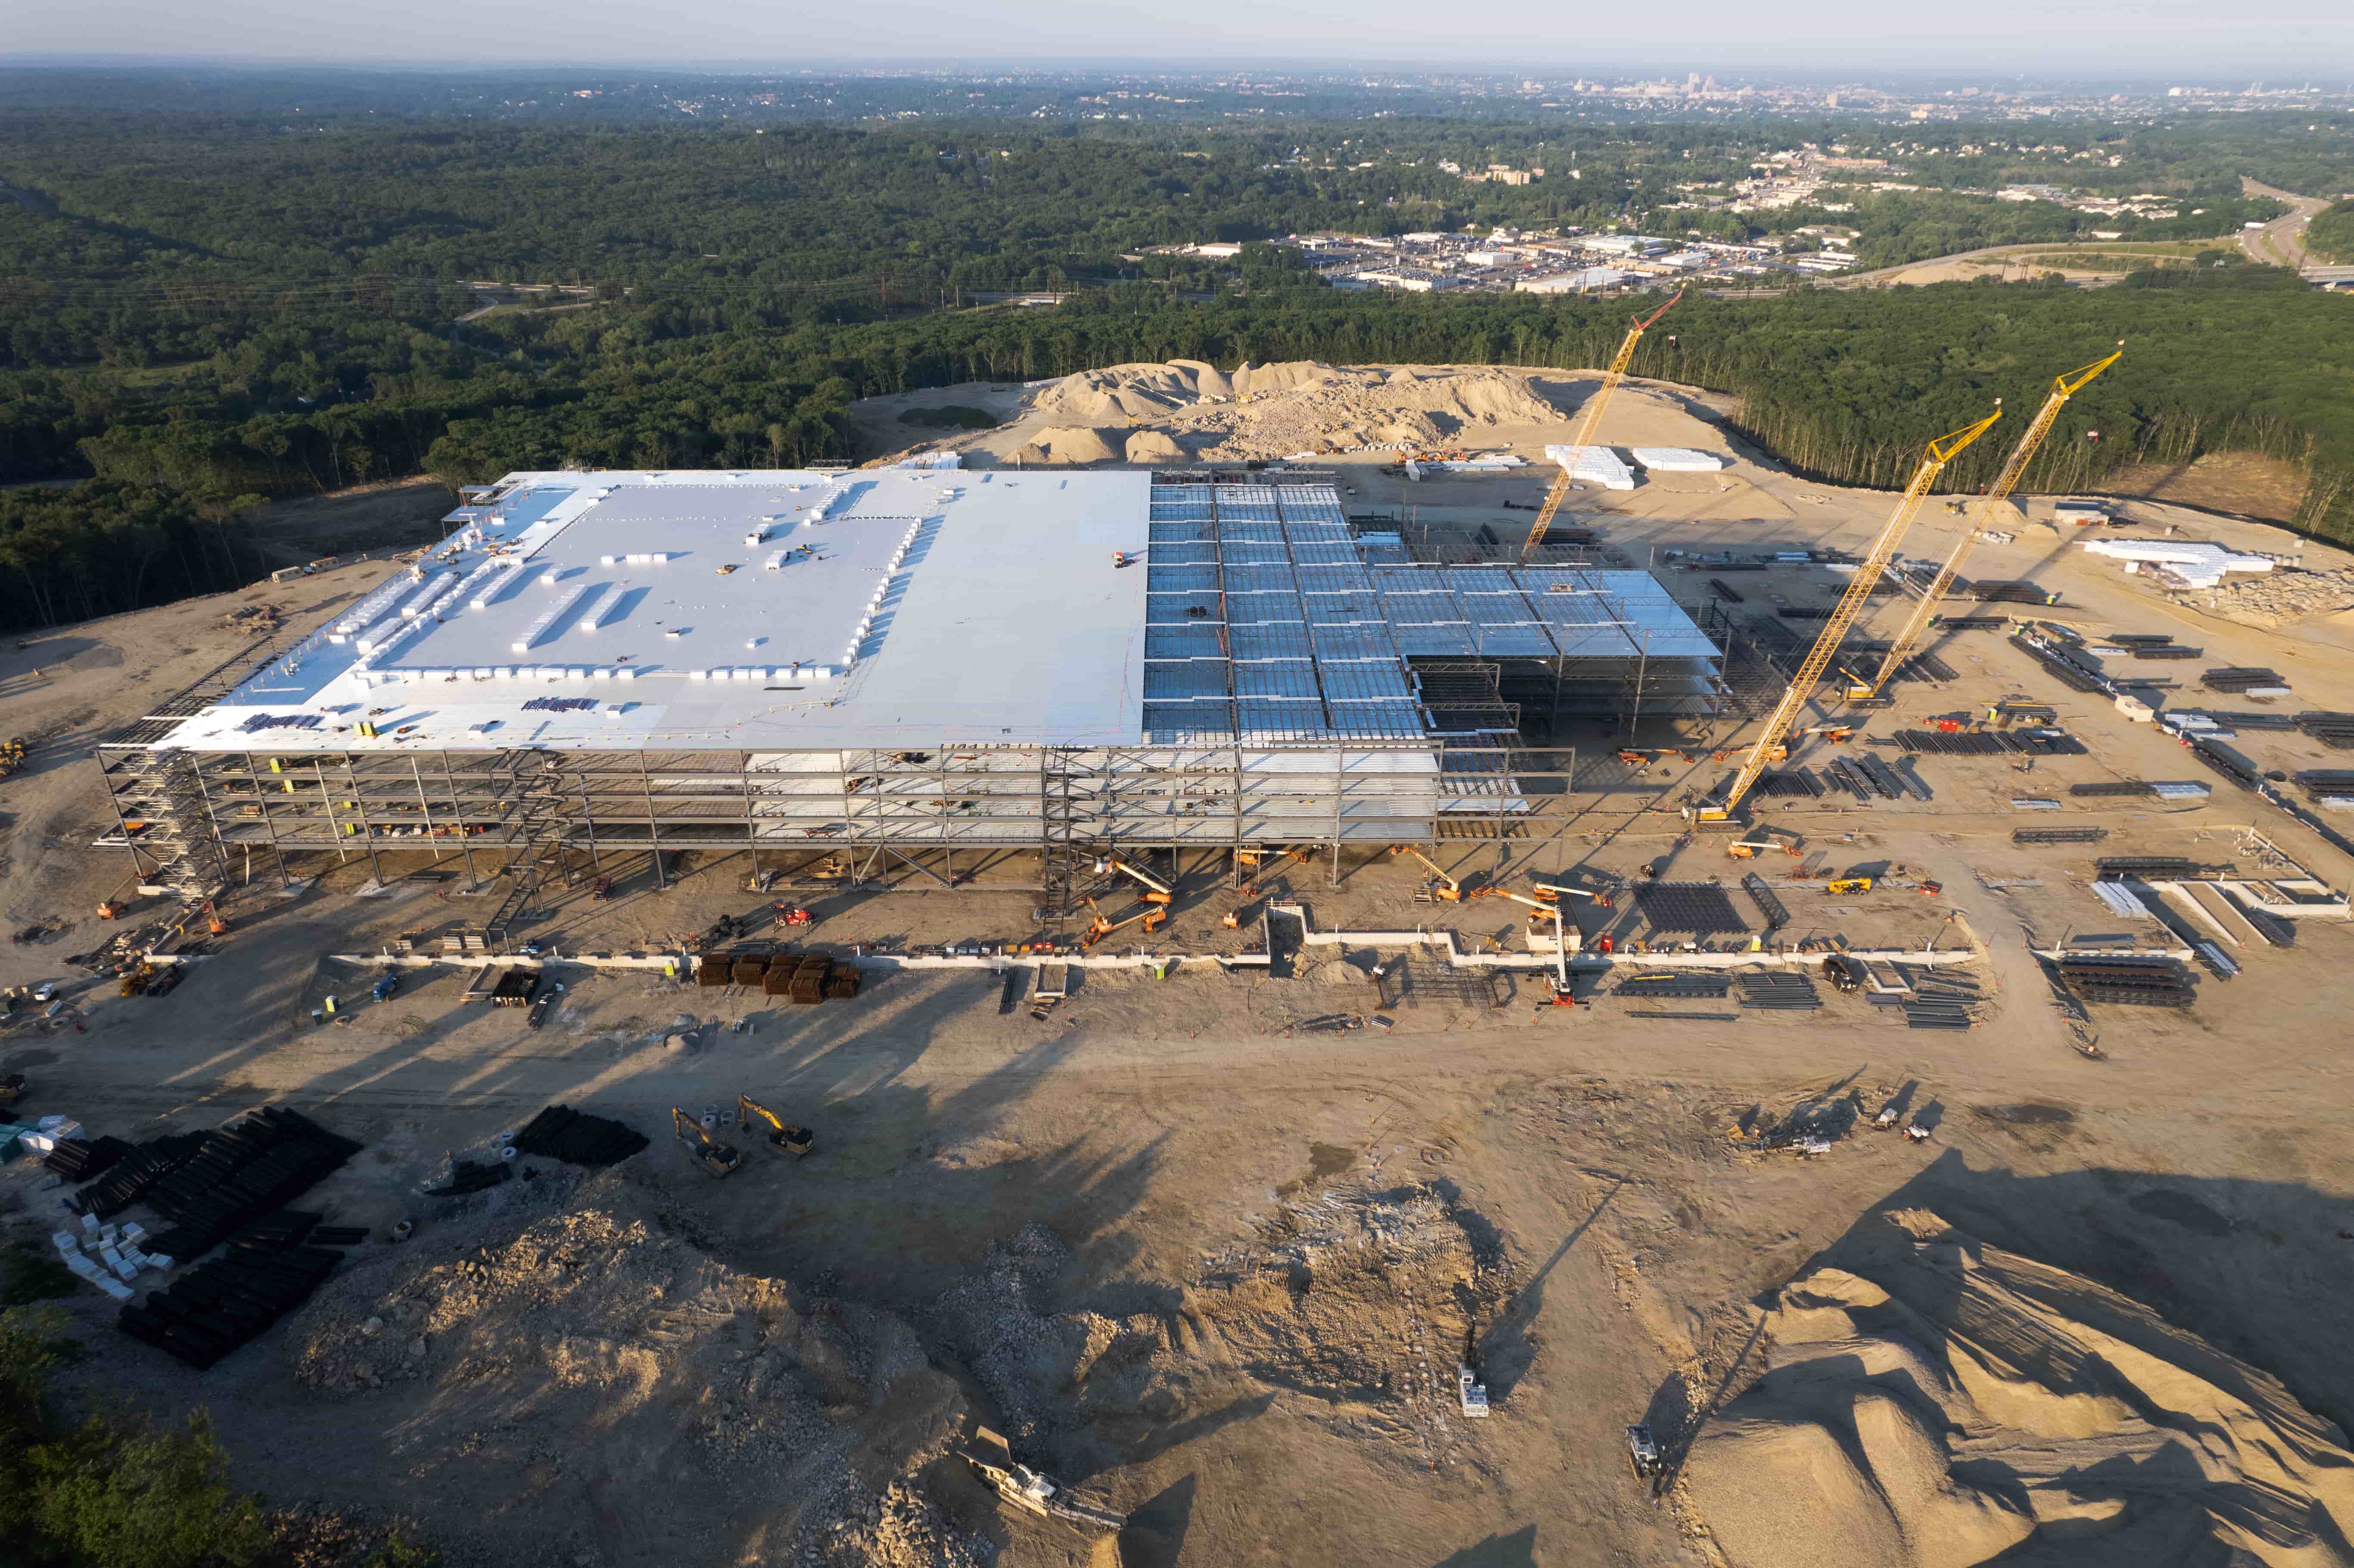
Start with a set of aerial photographs that show the entire site from consistent viewpoints. These wide overviews give a clear sense of how the building fits within the surrounding land, how access roads and staging areas look, and how the structure relates to neighbors. Taking these from the same positions visit after visit allows you to overlay images and see change over time. A simple trick: mark the drone launch points on a site map so you can repeat them each time. This consistency turns a series of separate photos into a reliable visual record.
2. Foundation and Structural Progress
For projects in early stages, the foundation is the most critical element to document. Capture the excavation depth, rebar layout, formwork, and any waterproofing or insulation layers before they are covered. Later, as walls and columns rise, photograph each structural element from several sides. This helps verify that the work matches engineering drawings and gives a clear picture of load-bearing progress. If a problem appears later, these images become the first place to check for signs of deviation.
3. MEP Rough-Ins and Hidden Work
Mechanical, electrical, and plumbing systems are often buried in walls or under slabs. Once drywall or concrete is placed, that work is invisible. Make a point of photographing all MEP rough-ins before they are covered. Include close-ups of junction boxes, pipe runs, ductwork, and any specialty equipment. A visual record of these hidden systems is invaluable for future maintenance, renovations, or troubleshooting. It also helps the general contractor confirm that subcontractors have completed their work before closing up the walls.
4. Finishes and Interior Fit-Out
As the project moves into interior work, shift your focus to finishes. Document flooring before and after installation, wall finishes, ceiling grids, cabinetry, and trim work. Pay attention to transitions between different materials, such as where tile meets hardwood or where drywall abuts a window frame. These details matter for quality control and for verifying that the finished product matches the specifications. If there is a dispute later about the condition of a surface at handover, a clear photo taken during installation can settle it.
5. Site Conditions and Safety Compliance
Beyond the building itself, document the site conditions. Note the weather on each capture date, as rain, snow, or high wind can affect both the work and the imagery. Photograph the material storage areas, waste management, and any temporary structures like scaffolding or hoardings. Also capture safety signage, PPE compliance, and any visible hazards. This documentation supports progress reports and can serve as evidence of due diligence if an incident occurs. A complete visual record includes the environment around the structure, not just the structure itself.
How to Organize and Compare Visit Data
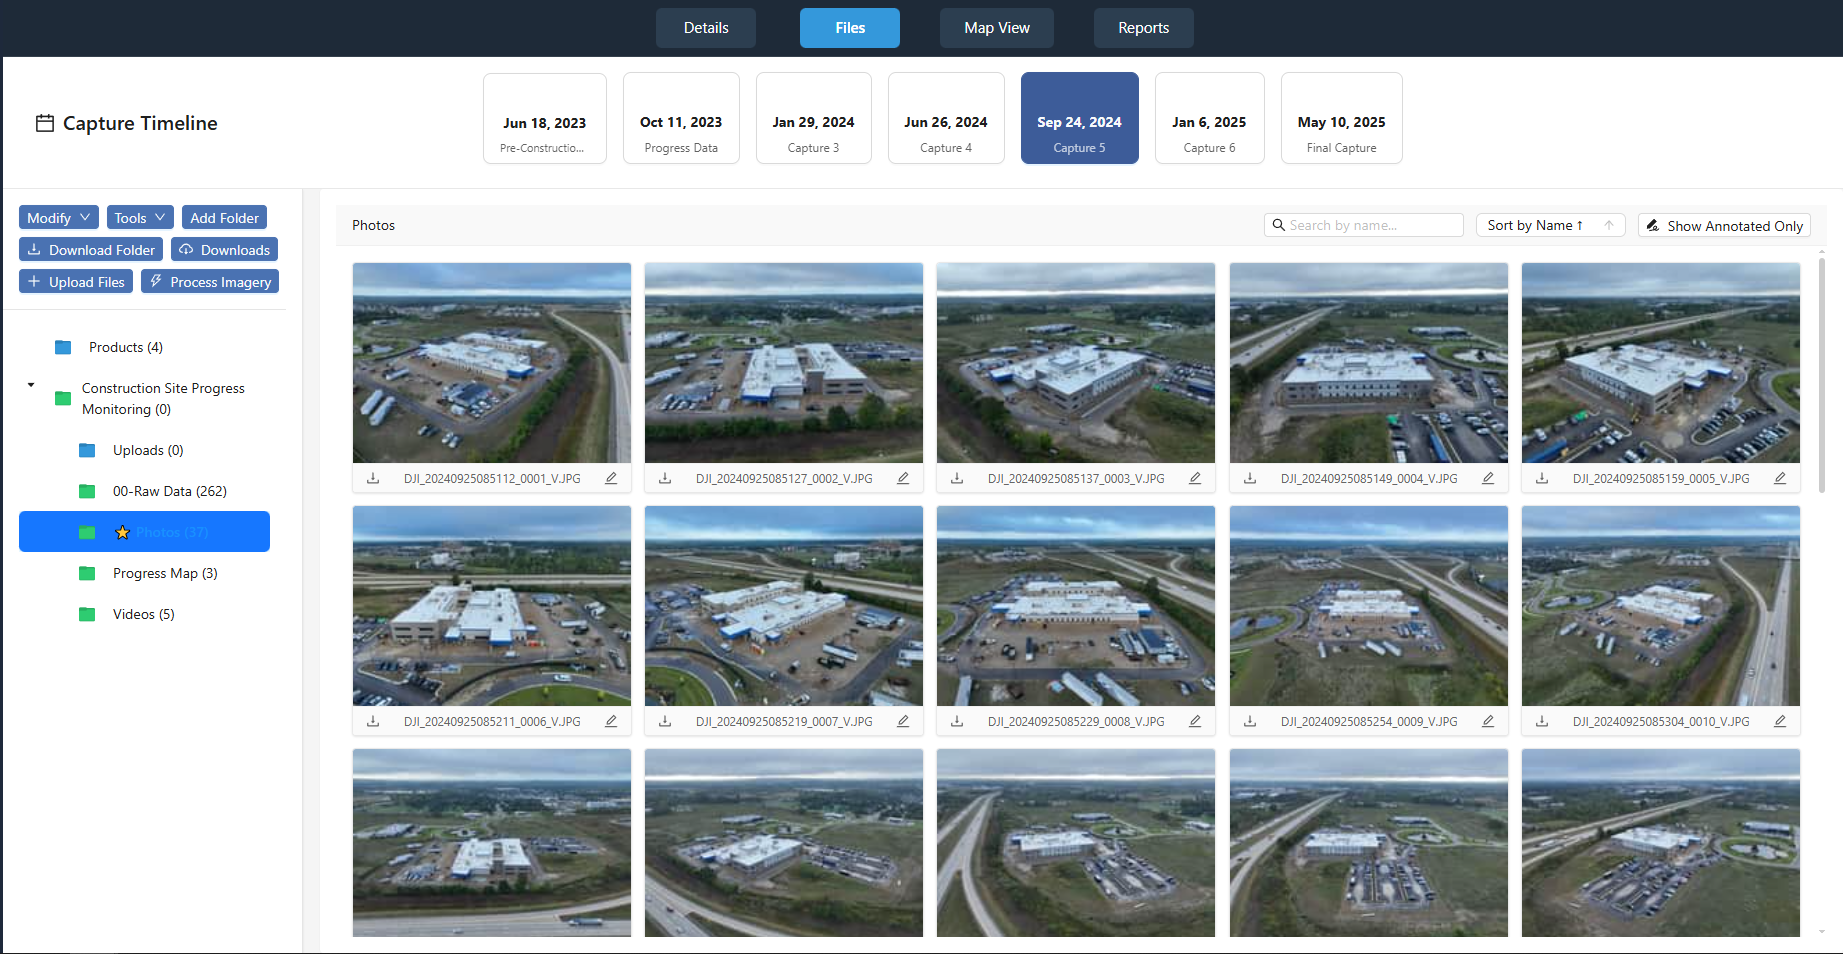
Collecting the images is only half the job. Without a system to organize and compare them, even the best photos lose their value. For each site visit, create a folder structure that mirrors your checklist. Label each folder with the date and the project milestone, then subdivide by area: foundation, framing, MEP, finishes, site conditions. This makes it easy for anyone on the team to find a specific shot without scrolling through hundreds of unlabeled files.
When you need to show progress, overlay images from consecutive visits. Many software tools can align aerial photos based on GPS coordinates or manually selected reference points. Seeing the foundation one week and a framed wall the next is powerful, but seeing a time-lapse of the entire process from the same angle is even better. That kind of visual record turns data into a story that stakeholders can understand at a glance.
Working with a Professional Documentation Partner
For larger projects or teams that need consistent, high-quality results, coordinating these captures can become a full-time task. That is where a dedicated service provider adds value. National Drone Services provides coordinated construction progress drone captures with aerial maps, 3D models, site imagery, and 360 panoramas organized in a project portal. Their approach ensures that every visit follows a repeatable plan and that all data is accessible in one place for the entire project team. This kind of structured support frees up your team to focus on managing the build rather than chasing down photos.
When you work with a partner, make sure they understand your checklist. Share your milestone schedule, your preferred viewpoints, and any specific elements you need highlighted. A good provider will adapt their workflow to match your documentation goals. National Drone Services, for example, integrates its capture schedule with your project timeline so that each flight aligns with the building stage you care about. This coordination keeps the visual record relevant and reduces the chance of missing a critical moment.
Common Mistakes to Avoid
Even with a solid checklist, some errors crop up repeatedly. Here are a few to watch for:
- Inconsistent framing. If your camera or drone is not at the same height and angle each visit, the images become hard to compare. Use marked ground points or GPS waypoints to lock in your positions.
- Skipping the "boring" stages. It is tempting to only photograph when something visible changes, but documenting slow periods like curing or grading is equally important. Those images prove that work was done on schedule.
- Not backing up on the same day. Memory cards fail, and phones get lost. Transfer your images to at least two separate drives or cloud accounts before leaving the site or at the end of the day.
- Forgetting metadata. Filenames like "IMG_0427.jpg" are useless later. Rename files with the date and area, or use software that embeds the capture date and GPS location automatically.
Making the Checklist Work for Your Team
A checklist is only effective if it is actually used. Print a laminated copy and take it to every site visit, or keep a digital version on your phone or tablet. Assign one person on the team to be responsible for the documentation on each visit. Rotate the role if needed, but make sure the checklist is followed every time. After a few visits, the process becomes second nature, and the quality of your visual record improves dramatically.
Review the checklist periodically. As the project moves into new phases, adjust the focus points. What mattered during excavation will be different from what matters during punch-out. Keep the checklist alive by updating it with lessons learned from each stage. Over time, you will build a documentation system that produces a complete, reliable visual record for every project, from groundbreaking to handover.